 Pin it
 My grandmother kept a giant yogurt container in her freezer, stuffed with onion skins and carrot ends. I thought it was eccentric until the day I watched her transform that frozen mess into the most incredible golden broth I had ever tasted. Now I have my own scrap bag, and honestly, I get a little protective when someone tries to throw away a perfectly good leek top. The magic happens in that hour of simmering, when all those discarded bits give up their last bit of flavor to create something so much more than the sum of its parts.
Last winter, my friend came over complaining she was broke and exhausted. I pulled out my scrap bag, threw everything in a pot, and we sat at my kitchen table talking while it simmered away. Two hours later, we had the most nourishing soup base, and she left with a whole new perspective on what counts as treasure in the kitchen.
Ingredients
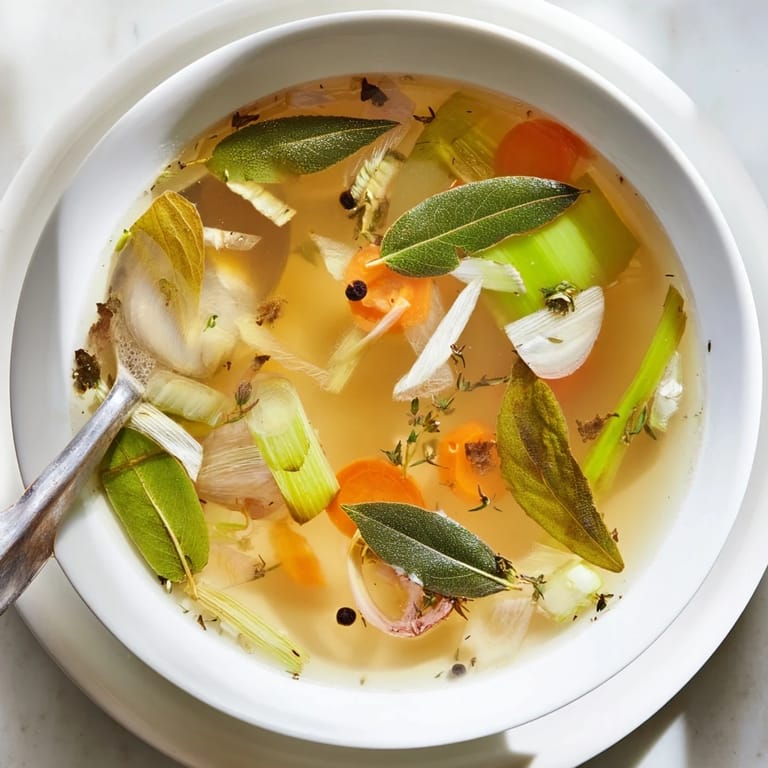
- Vegetable Scraps: The holy grail of broth making. Carrot peels add sweetness, onion skins contribute that gorgeous golden color, and celery ends bring the savory backbone. I keep adding scraps to a freezer bag until its full, which usually takes about a week of regular cooking.
- Bay Leaves and Peppercorns: These aromatic staples are the unsung heroes that transform boiled vegetable water into something you actually want to sip. Two bay leaves is plenty, and dont be shy with the peppercorns they add subtle warmth.
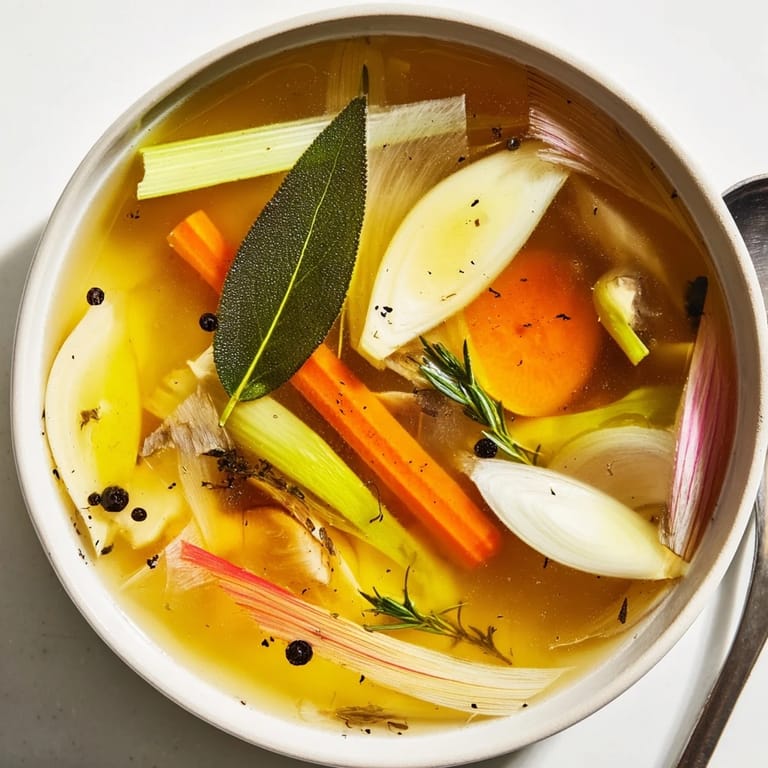
- Garlic and Herbs: Smashed garlic cloves release their oils into the broth, and fresh parsley or thyme sprigs add brightness. If you have herb stems left over from other recipes, throw them in instead of tossing them.
- Cold Water: Always start with cold water, which helps extract flavor more gradually than hot water. Eight cups should cover your scraps by about two inches, giving everything room to dance around as it simmers.
Tired of Takeout? 🥡
Get 10 meals you can make faster than delivery arrives. Seriously.
One email. No spam. Unsubscribe anytime.
Instructions
- Gather and Sort Your Scraps:
- Pull out your collection of vegetable trimmings, giving them a quick look over. Anything that looks slimy or off should go to compost, not the pot. I keep a designated bag in the freezer specifically for broth scraps, adding to it throughout the week.
- Combine Everything in the Pot:
- Dump your scraps into your largest stockpot along with bay leaves, peppercorns, garlic, and herbs. Pour in the cold water, making sure everything is submerged by at least a couple inches. This is when the kitchen starts smelling like magic.
- Bring to a Gentle Boil:
- Turn the heat to medium high and wait for bubbles to appear around the edges. Once it reaches a boil, immediately reduce to low. You want a lazy simmer, not a rolling boil, which keeps the broth clearer.
- Simmer and Skim:
- Let it cook uncovered for about an hour. Every so often, skim off any foam or scum that rises to the top with a large spoon. This simple step makes for a cleaner tasting finished broth.
- Taste and Adjust:
- Carefully taste a spoonful, keeping in mind it will be served hot. Add salt gradually, starting with one teaspoon and adding more if needed. The flavor should be pronounced but not overpowering.
- Strain and Cool:
- Set a fine mesh sieve over a large bowl and carefully pour the hot broth through it. Press down on the vegetables with the back of a spoon to extract every last drop of flavor. Let the broth cool completely before storing.
 Pin it
 One Sunday morning, I made a batch using scraps from a big dinner party the night before. My roommate wandered into the kitchen, rubbing her eyes, and asked what smelled so incredible. We ended up sipping mugs of the steaming broth while standing at the counter, and she confessed she had never realized vegetable broth could actually taste like something substantial and satisfying.
Building Your Scrap Collection
The trick to consistently good broth is having a reliable scrap collection system. I use a gallon freezer bag labeled BROTH SCRAPS in bold letters. Every time I chop an onion, peel carrots, or trim celery, the bits go straight into the bag. When its full, usually after about a week of regular cooking, I know its time to make broth. Some people keep separate bags for different flavor profiles, but I honestly just mix everything together and love the complexity.
Freezing and Storing
Cool your broth completely before transferring it to storage containers. I like using two cup glass jars since most recipes call for broth in multiples of two cups. Leave about an inch of space at the top because liquid expands when frozen. Frozen broth keeps for three months, though I have used older batches that were perfectly fine. Thaw overnight in the refrigerator or quickly thaw by placing the frozen container in a bowl of cold water.
Making It Richer
For an extra umami punch, add a piece of dried kombu seaweed or a few dried shiitake mushrooms to the simmering pot. Both can be found in Asian grocery stores or well stocked supermarkets. They impart a savory depth that makes the broth taste like it simmered all day. Another trick is to roast your vegetable scraps at 400 degrees for 20 minutes before adding them to the pot. The caramelization adds a richness that mimics meat based stocks.
- Add a Parmesan cheese rind to the pot if you are not strictly vegan
- A splash of soy sauce or tamari at the end deepens the flavor
- A teaspoon of nutritional yeast adds a savory, slightly cheesy note
 Pin it
 There is something deeply satisfying about turning what would have been compost into something that warms you from the inside out. Every batch feels like a small victory against waste, and honestly, the flavor is worth the extra effort.
Recipe FAQs
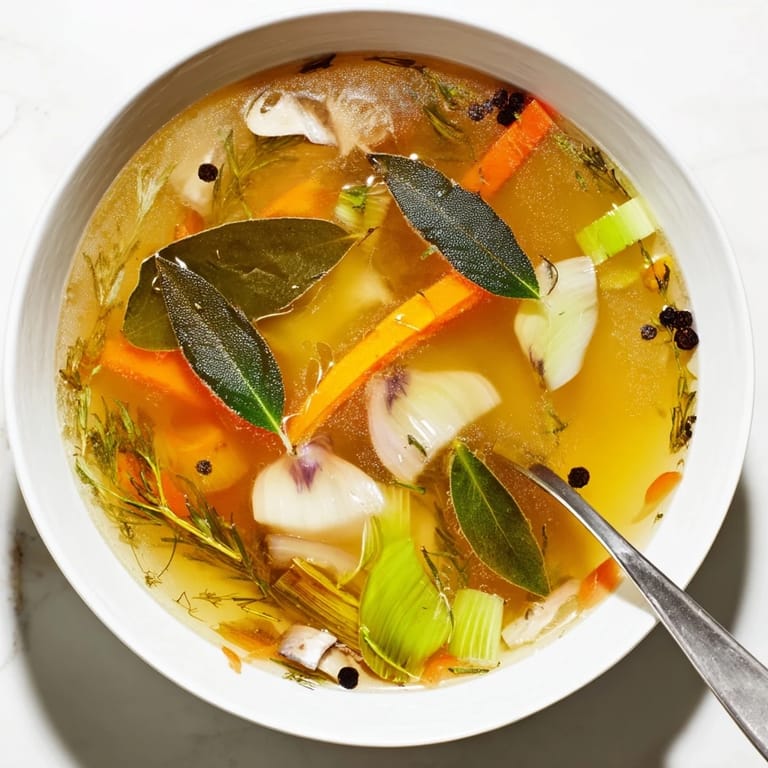
- → What vegetables work best for homemade broth?
Carrot peels, onion skins, celery ends, leek tops, mushroom stems, garlic skins, and parsley stems create excellent flavor profiles. Potatoes add body, while herbs contribute aromatic depth.
- → Why should I avoid cruciferous vegetables?
Broccoli, cauliflower, Brussels sprouts, and cabbage can impart bitter flavors and strong sulfur notes that overpower the delicate, savory taste of your finished broth.
- → How long can I store this broth?
Keep your strained broth in airtight containers in the refrigerator for up to five days. For longer storage, freeze in portion-sized containers for up to three months.
- → Can I enhance the umami flavor?
Add a piece of kombu seaweed or dried shiitake mushrooms during simmering. Both ingredients deepen the savory quality and add essential minerals.
- → Should I salt the broth during cooking?
Add salt sparingly during simmering, then adjust after straining. Since you'll likely use this broth in other dishes, lighter seasoning allows more flexibility in your final recipes.