 Pin it
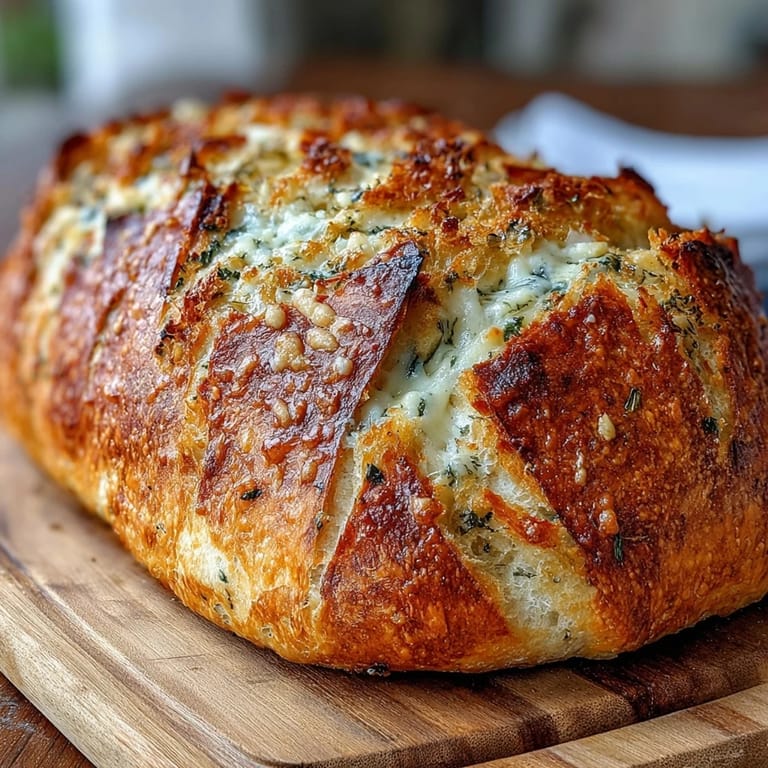
 There's nothing quite like the smell of garlic and Parmesan wafting through the house on a rainy Sunday. I first attempted this bread during a particularly gloomy weekend when comfort food felt non-negotiable. The dough sat on my counter overnight, and I woke up to a bubbly, living thing that felt like magic.
I brought this loaf to a friend's pasta dinner last winter, and honestly, it stole the show. We ended up passing around the bread basket three times while the actual pasta got slightly neglected. The combination of crusty outside and impossibly tender inside creates this texture that makes people pause mid-conversation.
Ingredients
- All-purpose flour: Bread flour works too, but I love how AP flour keeps the crumb tender and approachable
- Salt: Don't skimp here it balances all that rich Parmesan and enhances the garlic
- Sugar: Just enough to help the yeast work its magic and brown the crust beautifully
- Active dry yeast: Instant yeast works in a pinch, but active dry gives that classic fermented flavor
- Warm water: Think bathwater temperature, about 110°F, to wake up the yeast without killing it
- Olive oil: Adds subtle richness and helps keep the crumb soft after baking
- Freshly grated Parmesan: Pre-grated cheese has anti-caking agents that affect texture, so grab a wedge and grate it yourself
- Garlic: Fresh minced is key, and dont worry about it being too raw the long bake tames it perfectly
- Fresh herbs: Rosemary adds this piney aromatic quality that pairs beautifully with garlic, though parsley works if you prefer something milder
Tired of Takeout? 🥡
Get 10 meals you can make faster than delivery arrives. Seriously.
One email. No spam. Unsubscribe anytime.
Instructions
- Wake up the yeast:
- Dissolve the yeast in warm water and wait about 5 minutes until you see a foamy layer on top, which tells you it's alive and ready to work
- Mix the base:
- Combine your flour, salt, and sugar in a large bowl, then pour in the yeast mixture and olive oil, stirring with a wooden spoon until you have a shaggy, sticky dough
- Add the good stuff:
- Fold in the Parmesan, minced garlic, and herbs until everything is evenly distributed the dough will still feel quite sticky, and that's exactly right
- Let it work overnight:
- Cover the bowl and walk away for 12 to 18 hours, letting time transform that simple mixture into something bubbling and alive with flavor
- Shape gently:
- Turn the dough onto a floured surface and lightly shape it into a round, being careful not to deflate all those beautiful air bubbles you've created
- Preheat strategically:
- Place your Dutch oven in the oven and heat to 450°F while the dough rests for 30 minutes on parchment paper this preheating step is crucial for that crackling crust
- Score and bake covered:
- Cut a shallow slash across the top of the loaf, then carefully transfer it into the screaming hot Dutch oven and cover with the lid
- Reveal the magic:
- Bake covered for 30 minutes, then remove the lid and let it go another 15 minutes until deeply golden and the bottom sounds hollow when tapped
 Pin it
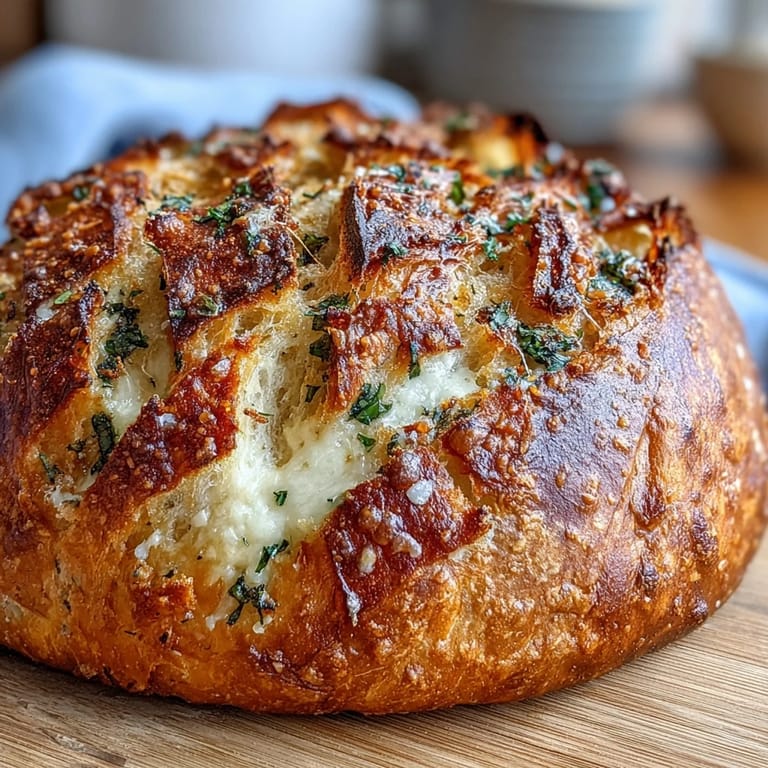
 Last week my six-year-old niece took one bite and declared it the best bread ever, then proceeded to eat three slices plain. Watching someone experience that perfect crunch followed by the soft, garlicky interior for the first time reminded me why I started baking in the first place. Some foods just connect people.
Getting That Perfect Crust
The Dutch oven method creates a steam-filled environment that mimics professional bakery ovens. I've tried baking this on regular baking sheets, and while it still tastes good, you just don't get that shattering crust that makes artisan bread so special. The trapped steam gelatinizes the starches on the surface, creating that gorgeous bakery-quality finish.
Cheese Variations Worth Trying
While Parmesan and garlic is a classic combination, I've discovered that aged Gruyère adds this incredible nuttiness that takes the bread to a whole new level. Sometimes I'll mix in some shredded sharp cheddar when I want something more familiar, or pecorino for a sharper, saltier kick. The key is using cheese you actually enjoy eating on its own, since the flavor concentrates during baking.
Make-Ahead Magic
This dough keeps beautifully in the refrigerator for up to 24 hours after the initial rise, which means you can prep it the night before and bake fresh bread for dinner. I often start two dough balls on Friday evening, bake one Saturday morning, and save the second for Sunday dinner. The slight extra refrigeration time actually develops more complex flavors.
- Mix the dough in the evening and let it rise while you sleep
- Shape and refrigerate in the morning, then bake when you're ready
- Leftover bread makes incredible garlic bread or croutons the next day
 Pin it
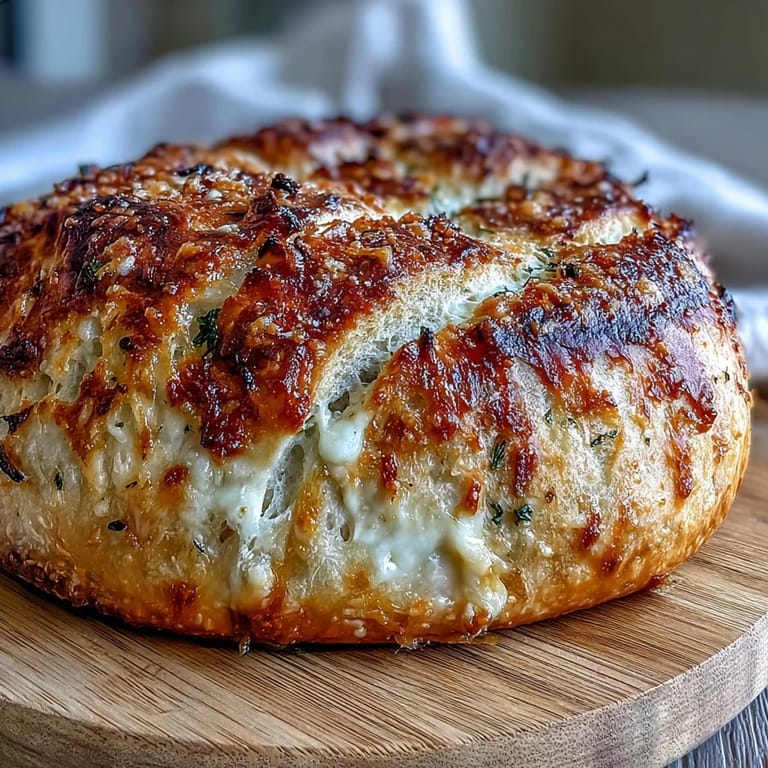
 There's something deeply satisfying about pulling a golden, steaming loaf from the oven you made yourself. This bread might just become your signature recipe.
Recipe FAQs
- → Why does this dough need to rise overnight?
The long fermentation allows enzymes to break down starches and proteins naturally, creating deeper flavor development and better texture. This slow process creates those signature air pockets and chewy crumb structure that artisan bakeries achieve through professional fermentation techniques.
- → Can I use pre-shredded Parmesan instead of freshly grated?
Freshly grated Parmesan melts and incorporates into the dough much better than pre-shredded varieties, which contain anti-caking agents. For the best texture and flavor distribution, grate your cheese from a block just before mixing.
- → What if I don't have a Dutch oven?
A heavy cast iron pot with a tight-fitting lid, or even a baking stone with a large metal bowl inverted over the loaf, can work. The key is creating a steam-filled environment that promotes crust development while keeping the interior moist.
- → How do I know when the bread is fully baked?
The crust should be deep golden brown, and the bottom should sound hollow when tapped. An instant thermometer inserted into the center should read 200-205°F. If the crust is browning too quickly, tent with foil for the final minutes.
- → Can I freeze this bread?
Absolutely. Cool completely, wrap tightly in plastic wrap then foil, and freeze for up to 3 months. Thaw at room temperature, then refresh in a 350°F oven for 10-15 minutes to restore the crisp crust.
- → Why is my dough sticky, and should I add more flour?
Sticky dough is actually correct for this method. The moisture content is necessary for proper steam production inside the Dutch oven, which creates that beautiful crust. Adding extra flour will result in a denser, heavier loaf with less oven spring.