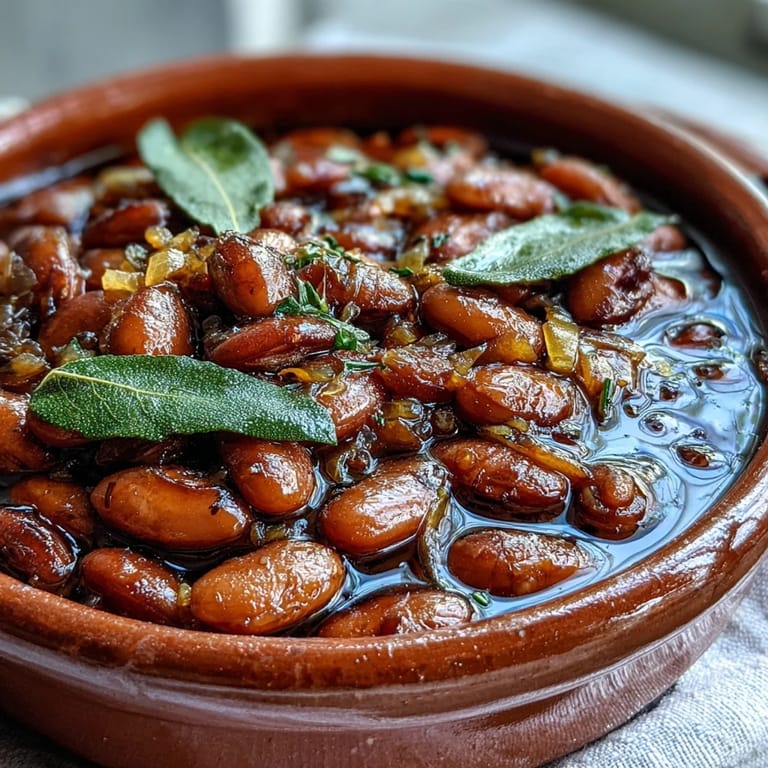
 Pin it
 The first time I made pinto beans from scratch, I stood over the pot for twenty minutes watching the foam rise and fall, convinced I was doing something wrong. My grandmother never measured anything, just threw beans in a pot with whatever she had on hand, and hers were always perfect. These beans became my weekend project during that first winter in my apartment, when learning to cook felt like learning a language. Now the smell of simmering beans with bay leaves and onions makes any kitchen feel like home, no matter where you are.
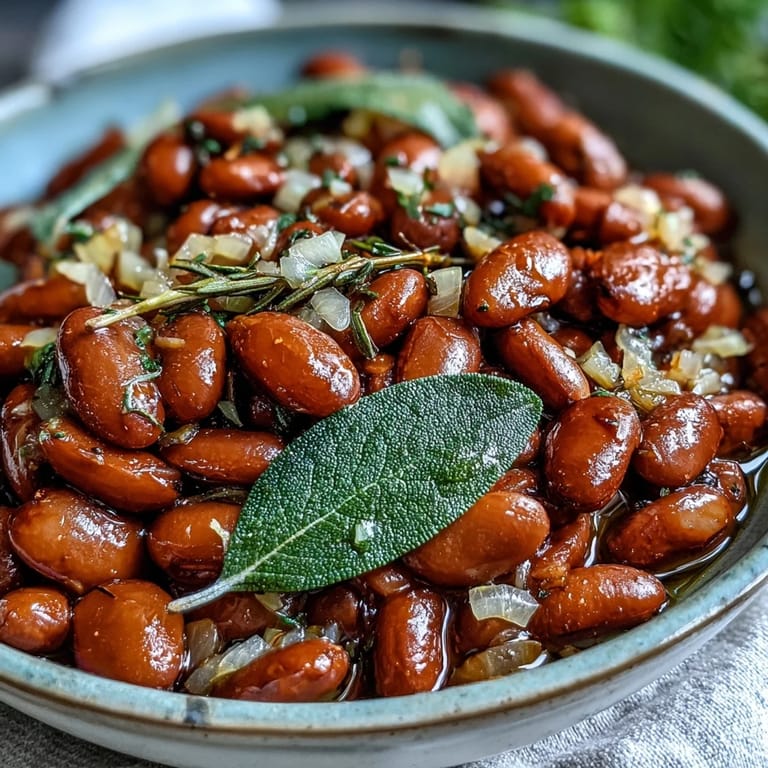
Last summer my sister came to visit and we made these beans for a makeshift taco bar on the back porch. She kept sneaking spoonfuls straight from the pot, claiming she was just checking the seasoning. By the time we actually sat down to eat, we had probably consumed half the batch standing over the stove, talking and laughing. Those beans disappeared faster than anything else on the table, and now she texts me every time she makes them herself.
Ingredients
- Dried pinto beans: One pound might seem like a lot, but beans cook down and you will want the leftovers for everything from breakfast burritos to quick weeknight meals.
- Yellow onion: Finely dicing the onion lets it practically dissolve into the beans as they cook, building a subtle sweetness in every spoonful.
- Garlic: Two cloves might feel modest, but since it simmers for hours the garlic mellows into a gentle background note rather than an aggressive punch.
- Bay leaves: Do not skip these, they add this earthy, herbal depth that makes people ask what your secret ingredient is.
- Olive oil: A generous third of cup might feel excessive, but the fat keeps the beans creamy and prevents them from becoming mealy or dry.
- Kosher salt: Adding salt at the end might seem backwards, but salting too early can keep beans from softening properly.
Tired of Takeout? 🥡
Get 10 meals you can make faster than delivery arrives. Seriously.
One email. No spam. Unsubscribe anytime.
Instructions
- Soak the beans:
- Spread the beans in a large bowl and cover with several inches of cold water, then leave them alone at room temperature for 8 to 24 hours while they plump up.
- Start the pot:
- Drain and rinse the soaked beans thoroughly, then place them in a Dutch oven or heavy pot with the 4 cups of cold water, onion, garlic, bay leaves, and olive oil.
- Bring to a boil:
- Set the pot over medium-high heat and wait for bubbles to appear, skimming off any foam that rises to the top with a large spoon.
- Simmer gently:
- Lower the heat to medium-low and let the beans bubble quietly for 1.5 to 2 hours, adding more water if they start to peek above the surface.
- Season at the end:
- In the last 10 minutes of cooking, stir in the tablespoon of salt and taste to see if they need more, then remove from heat when the beans are tender but still holding their shape.
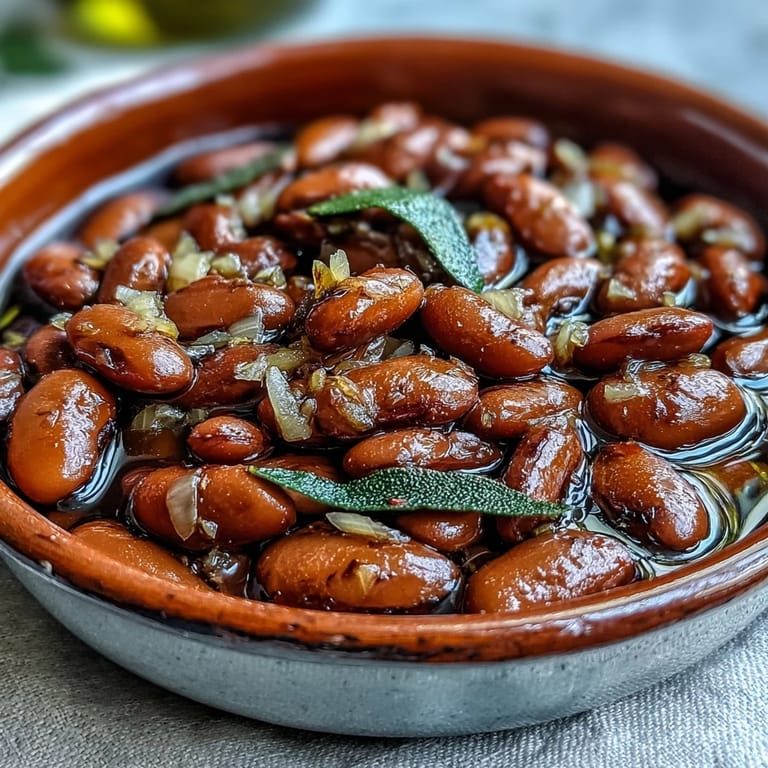
 Pin it
 These beans have become my go-to contribution to potlucks and family gatherings because they reheat beautifully and somehow taste even better the next day. There is something deeply satisfying about putting a pound of dried beans to soak before bed and waking up to know you have the foundation of several meals ready to go. A bowl of these beans with warm tortillas has gotten me through more tired weeknights than I care to count.
Make Them Your Own
The beauty of this basic recipe is how well it adapts to whatever you are craving or whatever you have in the pantry. A smoked ham hock or a piece of bacon added during simmering transforms these into something deeply savory and satisfying. Dried chipotle or guajillo peppers bring a subtle heat that lingers beautifully without overwhelming the beans.
Storage and Reheating
These beans keep in the refrigerator for up to five days, and they freeze exceptionally well for those months when you want something homemade without the effort. I freeze them in 2-cup portions, which is roughly equivalent to one can of beans but infinitely better. When reheating, add a splash of water and warm them gently over low heat.
Serving Ideas
Mash some of these beans with a little of their cooking liquid and you have the start of instant refried beans that put canned versions to shame. They work folded into scrambled eggs, spooned over rice, or simply served in a bowl with a drizzle of good olive oil and some warm corn tortillas.
- Try them as the filling for vegetarian burritos with cheese, rice, and salsa.
- Layer them into a seven-layer dip at your next gathering.
- Use the cooking liquid as a base for soups, it is packed with flavor.
 Pin it
 Once you get used to having a batch of these beans in your refrigerator, you will wonder how you ever managed without them.
Recipe FAQs
- → Do I really need to soak pinto beans overnight?
Yes, soaking for 8-24 hours ensures even cooking and tender results. It also reduces cooking time and helps beans digest more easily.
- → Can I skip the olive oil?
You can use a neutral oil or omit entirely for lower fat, though olive oil adds richness and helps beans cook more evenly.
- → Why add salt at the end instead of the beginning?
Adding salt in the last 10 minutes prevents beans from becoming tough and ensures proper seasoning absorption.
- → How do I know when the beans are done?
Beans are ready when tender but still holding their shape. Taste test a few beans—they should be creamy inside with no chalky texture.
- → Can I use canned pinto beans instead?
While quicker, canned beans lack the depth of flavor and creamy texture of slow-simmered dried beans. If using, rinse well and simmer with aromatics for 20 minutes.
- → What's the best way to store leftover beans?
Refrigerate in cooking liquid for up to 5 days, or freeze in portion-sized containers for up to 3 months. Thaw overnight in the refrigerator.