 Pin it
 My roommate challenged me to create a dessert that wouldn't derail her fitness goals, and honestly, I thought she was asking for the impossible. Then one afternoon, while blending cottage cheese for a protein smoothie, I noticed how silky it became and wondered if I could sneak it into cheesecake. Twenty minutes later, these little cups were cooling on the counter, and she took one bite and didn't say a word—just kept eating until all six were gone. That's when I knew I'd stumbled onto something real.
I made these for my sister's book club last spring, and watching them hover over these cups instead of the store-bought brownies felt like a small victory. One of her friends asked for the recipe three times before I finally texted it to her, and she's been making them ever since. It's funny how something so simple became the thing people actually remember from that afternoon.
Ingredients
- Almond flour: Creates a nutty, sturdy base that won't turn mushy—the ground anchovy of the dessert world, if you will.
- Melted coconut oil: Binds everything together and adds richness without dairy heaviness; melted is non-negotiable here.
- Honey or maple syrup: A touch of natural sweetness that prevents the base from tasting like a health bar.
- Salt: That tiny pinch makes the whole thing taste intentional instead of one-note.
- Low-fat cottage cheese: This is the star player—get the smoothest brand you can find, and yes, there's a difference.
- Greek yogurt: Adds tang and helps the filling set without needing cream cheese or eggs alone.
- Large eggs: They're the glue that holds the structure together during baking.
- Cornstarch: Two tablespoons keeps the filling creamy and prevents it from becoming rubbery or weeping liquid.
- Granulated sweetener: Use whichever you prefer—I've tested all three and they behave similarly.
- Vanilla extract: A teaspoon masks any tanginess from the yogurt and cottage cheese beautifully.
- Lemon zest: Optional but transformative—it brightens everything and makes the filling taste less like a protein experiment.
Tired of Takeout? 🥡
Get 10 meals you can make faster than delivery arrives. Seriously.
One email. No spam. Unsubscribe anytime.
Instructions
- Heat the oven and prep the tins:
- Set the oven to 175°C and line your muffin tin with silicone liners if you have them—they make removal so much easier. Paper liners work too, but they sometimes stick.
- Make the base:
- Toss together almond flour, melted coconut oil, honey, and salt in a small bowl until it looks like wet sand. You want it crumbly but cohesive enough to hold together when pressed.
- Press the base:
- Divide the mixture evenly among the six cups and press down firmly with the bottom of a measuring cup—about a quarter-inch thick. Don't skip this step; a loose base will shift when you pour the filling.
- Blend the filling:
- Throw cottage cheese and Greek yogurt into a blender and blend until it's completely smooth and creamy, which takes about two minutes. This is the moment where lumps disappear and magic starts happening.
- Add the rest:
- Pour in eggs, cornstarch, sweetener, vanilla, and lemon zest, then blend again until the mixture is silky and homogeneous—another minute or so. If you scrape the sides and blend one more time, you'll catch any stubborn bits.
- Fill the cups:
- Divide the filling evenly among the bases, pouring carefully so you don't splash. They should be almost full but not overflowing.
- Bake until just set:
- Bake for 18 to 22 minutes—you're looking for the tops to be pale and firm but the centers to have the slightest wobble when you gently shake the tin. Overbaking makes them dense and rubbery; underbaking means they won't hold their shape when you remove them. The wobble is your timer.
- Cool and chill:
- Let them cool at room temperature for about 20 minutes, then transfer to the fridge for at least 30 minutes before serving. Overnight is even better if you have time.
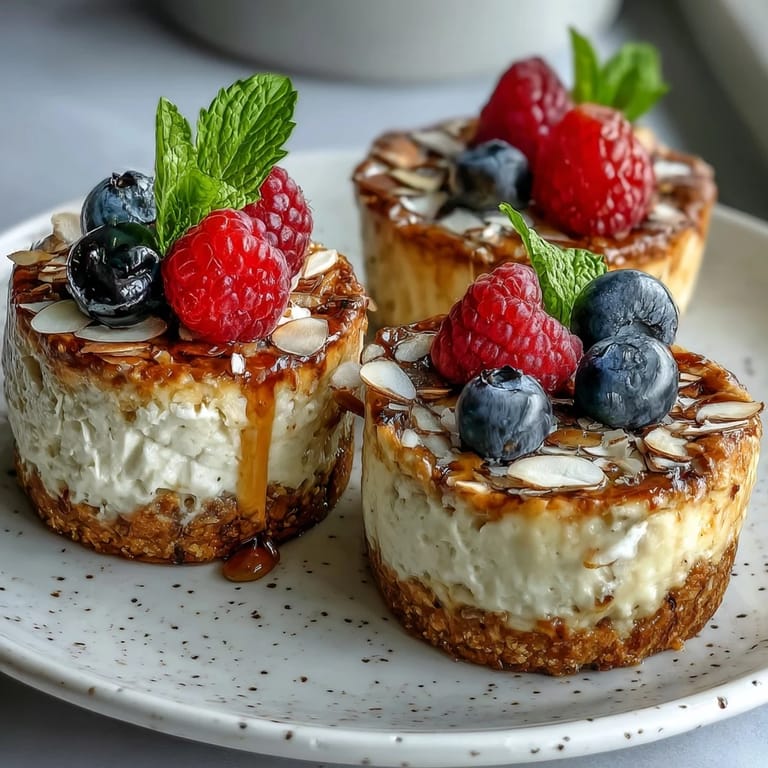
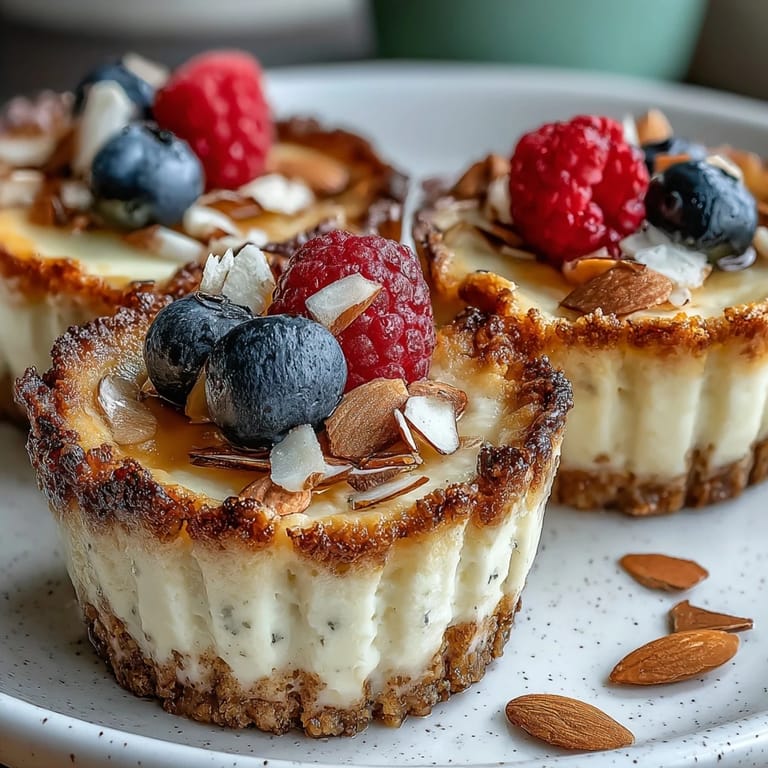
- Top if desired:
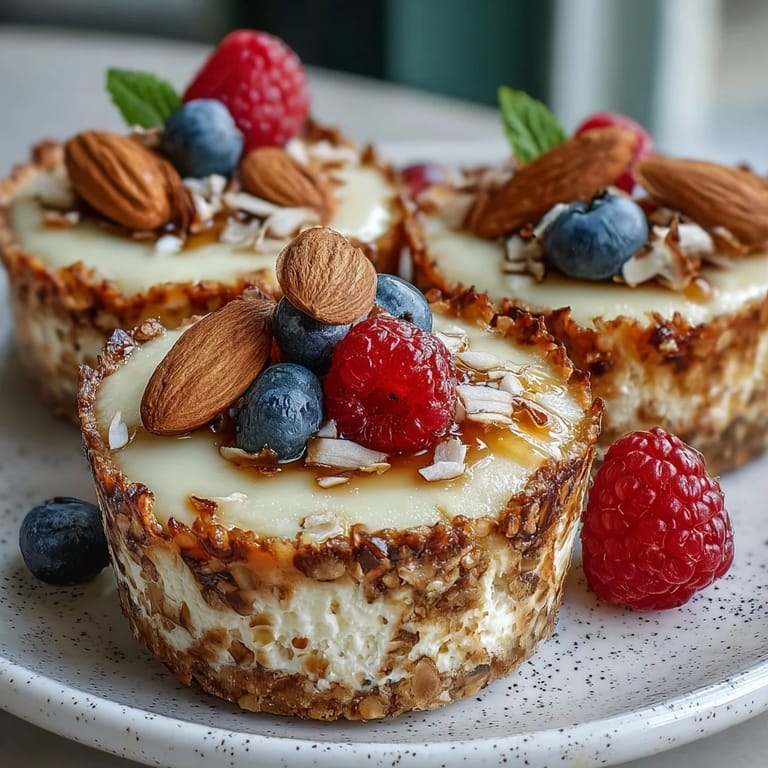
- Just before serving, add fresh berries and a light drizzle of honey for sweetness and color.
 Pin it
 There was this one evening when my friend texted me at 9 PM saying she needed something sweet and protein-packed because she couldn't sleep without eating something substantial, and I pulled these out of the freezer and sent her home with two. She called me back an hour later just to say they'd hit the spot perfectly—that moment made me realize these aren't just diet food, they're actually good enough to want.
The Secret to a Silky Filling
The turning point in perfecting these was discovering that Greek yogurt does more than add protein—it actually changes the texture of the entire filling by introducing enough moisture to keep everything creamy while the cornstarch ensures it doesn't become a runny puddle. I learned this the hard way by making eight batches with different ratios, each one teaching me something. The combination of these two dairy components is what separates these from dense, chalky protein cups that taste like penance.
Customization Without Compromise
These cups are surprisingly forgiving if you want to experiment—I've swapped the almond flour for oat flour for friends with nut allergies, added cocoa powder to the base, folded in mashed berries before baking, and even topped them with a drizzle of dark chocolate that hardened into a shell. The structure holds up because the filling and base are solid, so you're really just playing with flavors once you nail the technique. The beauty is that you can make a batch of plain ones and customize each cup individually before serving, which feels fancy but takes barely any extra effort.
Storage and Make-Ahead Magic
These actually taste better after 24 hours in the fridge because the flavors meld and the texture firms up even more. I keep a batch in a covered container for up to five days, and I've also frozen them individually in a freezer bag for up to two weeks—just let them thaw in the fridge for 15 minutes before eating. The silicone liners make it so easy to pop them out and wrap them individually, and honestly, having these ready means you're never without a protein-packed dessert when cravings hit.
- Silicone liners are worth the investment because they make these release cleanly every single time.
- Prepare the bases the night before and chill them, then add the filling and bake the next morning to spread out the work.
- These freeze beautifully, so make a double batch when you're in the mood and thank yourself later.
 Pin it
 These cups have become the dessert I reach for when I want something that tastes like I'm treating myself but actually nourishes me—and that's exactly what food should feel like. Make them once and you'll understand why they've become my most-requested recipe.
Recipe FAQs
- → What can I substitute for almond flour?
You can replace almond flour with oat flour for a nut-free alternative that maintains the base structure well.
- → Can I use lactose-free dairy products?
Yes, lactose-free cottage cheese and Greek yogurt work well, ensuring the same creamy texture and taste.
- → How do I know when the cheesecake cups are done baking?
Bake until the filling is just set with a slight wobble in the center, about 18–22 minutes at 175°C (350°F).
- → Can I add fruit toppings?
Fresh berries and a drizzle of honey or maple syrup make excellent toppings to enhance flavor and presentation.
- → Is it necessary to chill the cheesecake cups?
Chilling for at least 30 minutes helps the cups set fully and improves the texture for serving.