 Pin it
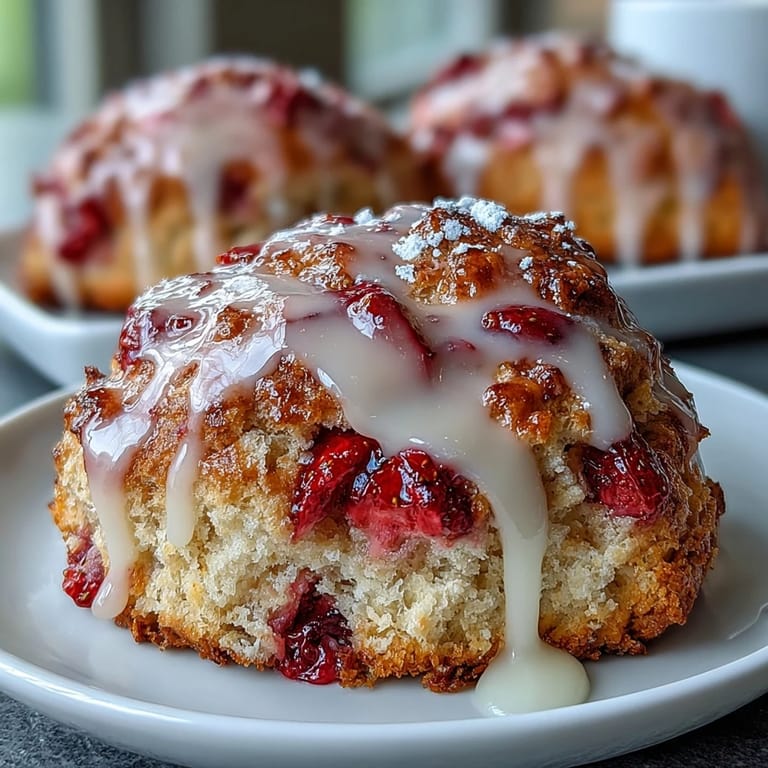
 There's something about the smell of lemon zest hitting warm butter that makes a kitchen feel instantly like a proper tea room. I discovered these scones on a lazy Sunday morning when I had strawberries going soft on the counter and a sudden craving for something tender and bright. What started as improvisation—mixing what I had with what felt right—became the kind of breakfast that makes people linger at your table asking for the recipe before they've even finished their first bite.
I made these for my neighbor last spring when she brought over homemade jam, and watching her face when she bit into one—that moment of surprise at how buttery and tender they were—made me realize why scones matter. They're not complicated, but they demand a little attention and care, which somehow makes sharing them feel more meaningful than dropping off store-bought pastries ever could.
Ingredients
- All-purpose flour (2 cups): This is your foundation, so measure it right—spoon into the cup and level it off rather than scooping straight from the bag, which packs it down and makes dense scones.
- Granulated sugar (1/3 cup): Just enough sweetness to let the fruit and lemon shine without overwhelming your taste buds.
- Baking powder (1 tablespoon): The secret to that tender crumb; don't skip it or use baking soda as a substitute.
- Salt (1/2 teaspoon): A tiny pinch that somehow makes everything taste more like itself.
- Cold unsalted butter (1/2 cup, cubed): This is non-negotiable—you need it straight from the fridge so it creates little pockets of steam that make scones light and flaky.
- Heavy cream (2/3 cup, plus more for brushing): Richer and more forgiving than milk; it creates that tender crumb and golden top when brushed on.
- Egg (1 large): Binds everything together and helps them brown beautifully in the oven.
- Vanilla extract (1 teaspoon): A quiet background note that deepens the flavor without announcing itself.
- Lemon zest (1 tablespoon): Fresh zest makes all the difference—the oils are where the real lemon brightness lives, not the juice.
- Fresh strawberries (1 cup, hulled and diced): Cut them small enough that they distribute evenly but chunky enough that you'll bite into real strawberry in every scone.
- Powdered sugar (1 cup, sifted): Sifting removes lumps so your glaze stays silky and pourable instead of grainy.
- Fresh lemon juice (2-3 tablespoons): Start with 2 tablespoons and taste; you control how tart the glaze becomes.
- Mixed fresh berries for serving (1 cup): Blueberries, raspberries, and blackberries add color and brightness alongside the warm scones.
Tired of Takeout? 🥡
Get 10 meals you can make faster than delivery arrives. Seriously.
One email. No spam. Unsubscribe anytime.
Instructions
- Set your stage:
- Preheat the oven to 400°F and line your baking sheet with parchment paper so nothing sticks when they puff up in the heat.
- Build your dry base:
- Whisk together flour, sugar, baking powder, and salt in a large bowl, making sure the baking powder distributes evenly so you don't get any pockets of metallic taste.
- Cut in the butter:
- Add your cold butter cubes and use a pastry cutter, fork, or your fingertips to work it into the flour until it looks like coarse breadcrumbs with pea-sized pieces of butter visible throughout. This is what creates the flaky layers.
- Mix your wet ingredients:
- In another bowl, whisk heavy cream, egg, vanilla, and lemon zest together until well combined and slightly frothy.
- Bring it together:
- Pour the wet mixture into the flour mixture and stir gently with a wooden spoon just until the dough comes together—overworking it makes scones tough and dense. Gently fold in the diced strawberries so they're distributed but not crushed.
- Shape and cut:
- Turn the dough onto a lightly floured surface and gently shape it into a round about 1 inch thick, as if you're being very kind to it. Cut it into 8 wedges like a pizza and transfer each piece to your prepared baking sheet, leaving a little space between them.
- Add the golden touch:
- Brush the top of each scone with a tiny bit of heavy cream so they brown gorgeously in the oven.
- Bake until golden:
- Bake for 18 to 20 minutes until the tops are golden brown and a toothpick inserted into the center comes out clean. The kitchen will smell absolutely incredible.
- Cool and glaze:
- Let the scones rest on a wire rack while you whisk together powdered sugar, lemon juice, and zest until you have a smooth, pourable glaze. Drizzle it over the cooled scones in whatever pattern makes you happy.
- Serve with berries:
- Top each scone with a handful of fresh mixed berries or serve them on the side so people can pile them on as they like.
 Pin it
 One afternoon I made these for friends visiting from out of town, and someone asked for thirds—actually thirds of a scone—because they couldn't stop picking at them. That's when I understood that these aren't just breakfast; they're the kind of small, thoughtful thing that makes people feel cared for.
The Magic of Cold Butter
The difference between a dense, crumbly scone and one that's light and flaky comes down to those little dots of cold butter you can see in the dough. When butter melts in the oven, it leaves behind tiny air pockets that steam rises through, creating layers. If you use soft or room-temperature butter, you'll end up with a more cake-like texture, and that's not what we're after here. Keep your butter in the freezer until the last possible moment, cube it, and work quickly with cold hands if you can—it feels fussy, but it genuinely changes everything.
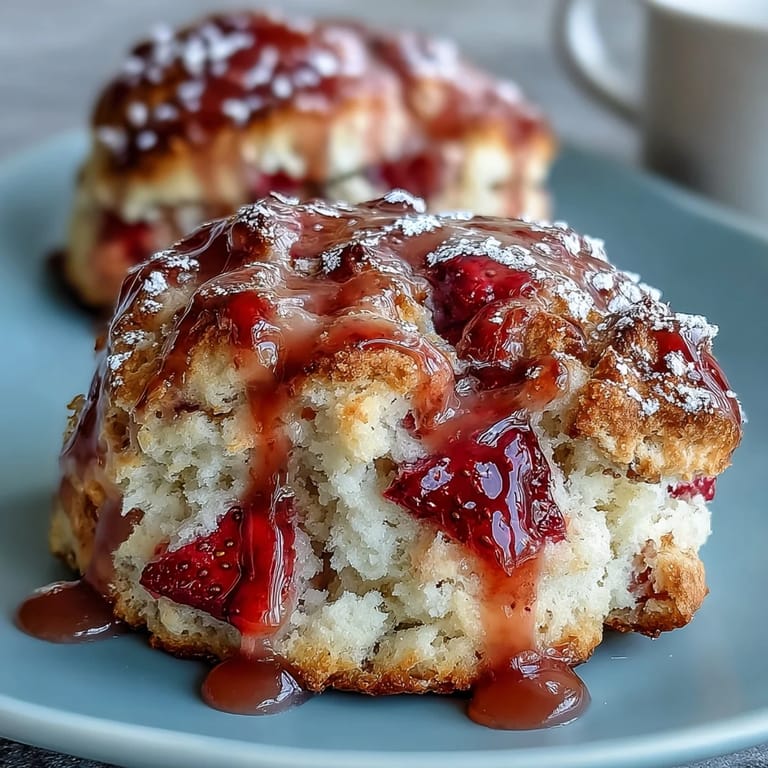
Strawberries and Why Fresh Matters
Using fresh strawberries instead of frozen changes not just the flavor but the entire texture of the scone. Frozen berries release too much liquid as they thaw, making the dough soggy and the baked scones heavy. Fresh ones stay relatively firm, so they bake into tender pockets of fruit rather than turning mushy. The trick is dicing them small enough that they distribute evenly throughout, but not so fine that they disappear—you want someone biting into a scone to actually encounter real strawberry pieces.
The Lemon Glaze Secret
The glaze is where brightness lives in this recipe, so don't be shy with the lemon zest even though the juice does most of the work. Zest contains the essential oils that make lemon taste vibrant and alive, while juice brings tartness. Start with 2 tablespoons of juice and taste before adding the third; every lemon is different, and you might like it less tart or more intense. A silky glaze should drizzle easily from a spoon without pooling in thick puddles or being so thin it slides right off.
- Make sure your scones have cooled completely before glazing or the icing will melt and slide off into pools.
- If your glaze is too thick, whisk in another half-tablespoon of lemon juice; if it's too thin, add a touch more powdered sugar.
- Apply the glaze while the scones are still slightly warm but cool to the touch for the best flavor absorption.
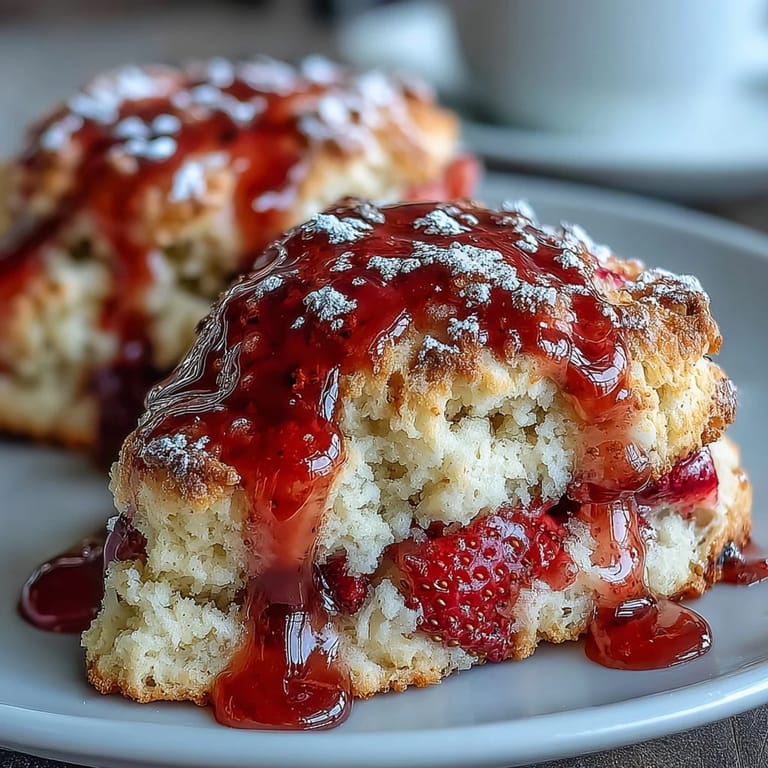 Pin it
 These scones have a way of turning an ordinary breakfast into something worth slowing down for. Keep them simple, make them with good ingredients and a little care, and watch how people respond.
Recipe FAQs
- → How do I keep the scones tender and flaky?
Use cold unsalted butter cut into the flour until it resembles coarse crumbs, and avoid overmixing when adding wet ingredients to maintain flakiness.
- → Can I substitute the strawberries with other fruits?
Yes, raspberries or blueberries work well and complement the lemon glaze beautifully.
- → What is the best way to apply the lemon glaze?
Drizzle the glaze over cooled scones to prevent it from melting and to maintain a smooth, glossy finish.
- → How long should the scones be baked?
Bake at 400°F (200°C) for 18 to 20 minutes until golden brown and cooked through.
- → Can these scones be prepared ahead of time?
They are best enjoyed the day they are baked but can be stored in an airtight container for 1–2 days without losing texture.